While it may not be immediately apparent, bathrooms can be dangerous for seniors and people with disabilities due to an increased risk of accidents. Statistics show that 79% of all bathroom injuries among people aged 65+ are due to slips and falls. As a result, cleanliness – and keeping your bathroom as dry as possible – are very important. Sanitizing and disinfecting your bathroom also keeps germs at bay, which is crucial for people who may be more susceptible to illness and disease.
In this blog, we’ll review the basics of cleaning an accessible bathroom and provide you with a list of essential bathroom cleaning supplies. Our goal is to give you all of the information you need to safely navigate your bathroom and live independently in the comfort of your own home.
This blog is part of our four-part Home Modifications series. To view the other blogs, click below:
Part 1: Easy-Access Stairlifts
Table of Contents
What Is An ADA Accessible Bathroom?
Creating an accessible bathroom starts with universal design, which is the practice of engineering environments that can be used by anyone, regardless of their age, size, and ability level. Accounting for everyone who will use your bathroom – including those without disabilities – supports a safe and comfortable experience.
It’s important to consider your current and future needs when designing your handicap-accessible bathroom to ensure it accommodates you in the long run. This is especially crucial if you want to age in place, which we’ll cover in the next section. Here are a few general guidelines to keep in mind:
- Accessible bathroom doors (and doorways) should be wide enough to facilitate both straight and side wheelchair entry.
- Showers and bathtubs should contain seats or benches, grab bars, and easy-to-use faucet controls.
- Accessible bathroom sinks and wheelchair-accessible bathroom vanities should have single-lever faucets and provide enough knee clearance for wheelchairs.
- Toilets should be wall-mounted, have back and side accessible bathroom grab bars, and be easily accessible for wheelchair users.
- Lighting should be motion-activated, accessible from a seated or standing position, and as natural as possible to avoid dangerous shadows.

If you’re interested in incorporating universal design into your home, UDS offers accessible bathroom remodels that are customized to meet your unique tastes and lifestyle. In addition to design and construction management services, we provide products like roll-under sinks, walk-in tubs, accessible showers, safety grab bars, and easy-transfer toilets.
Easy-Access Bathrooms & Aging in Place
Handicap-accessible bathrooms are a central part of aging in place, which refers to staying in your home as you grow older, rather than moving to a senior living community or assisted living facility. Activities of daily living (ADLs) can become increasingly time-consuming and difficult as we age, which can negatively impact your ability to live independently at home.
Making your home more accessible through universal design is one of the best ways to maintain your independence and autonomy, no matter your age or disability. Additionally, it improves your overall quality of life and positively impacts your physical, mental, and emotional health. It may also be less expensive than moving into a senior or assisted living facility, both of which can be quite costly.
Essential Accessible Bathroom Cleaning Supplies
When choosing cleaning products for your ADA accessible bathroom, be sure to consider how each item will be cleaned and how easy (or difficult) that process will be. It’s also important to keep all of your cleaning supplies organized and close at hand to streamline the process.
Finally, make sure you understand the difference between disinfectants and regular, all-purpose cleaners. Disinfectants should be used for the dirtiest parts of your bathroom (like the toilet) since they’re designed to kill virtually everything on a surface. You can use all-purpose cleaners for the rest of your bathroom since they sanitize by killing 99.9% of germs and reducing surface contamination.
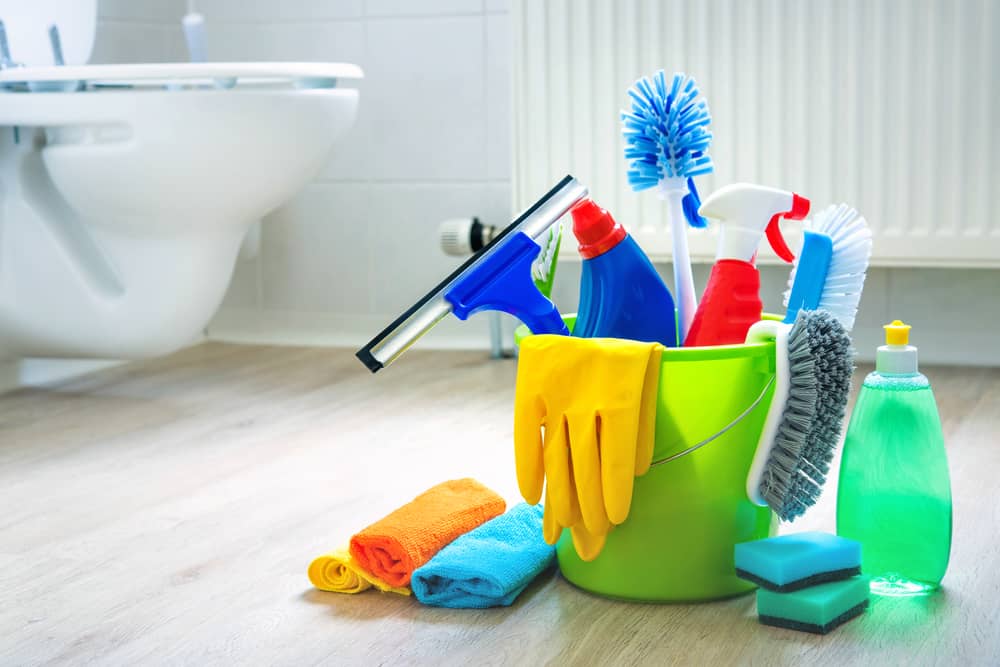
Here are the most essential handicap-accessible bathroom cleaning supplies:
- All-purpose cleaner
- Bathroom tile cleaner
- Dish soap
- Distilled white vinegar
- Duster
- Glass cleaner
- Microfiber rags
- Scrubbing powder
- Scrub pads and/or brushes
- Shower cleaner
- Spray disinfectant or disinfecting wipes
- Stone cleaner
- Squeegee
- Toilet brush and cleaner
- Vacuum

Before You Get Started
There are several things to keep in mind before you begin the process of cleaning an accessible bathroom. For starters, be sure to always work from top to bottom to ensure you aren’t dirtying areas you’ve already cleaned. You should also dry all surfaces as soon as you finish cleaning them to avoid accidents later on. Finally, keep your bathroom as organized and decluttered as possible and store items in cabinets or drawers to minimize dust accumulation.
Step-By-Step Accessible Bathroom Cleaning Checklist
To make cleaning an accessible bathroom as easy as possible, we’ve created a sequential list of tasks with accompanying tips. These duties can easily be modified based on your ability level or handled by a professional cleaning service.
1. Dust
Start by using a long-handled duster or microfiber rag to clean the highest objects in your bathroom. This includes light fixtures, countertops, window blinds, shelves, and any other dust-prone surfaces.
2. Clean Walls & Ceilings
Spray the walls and ceiling of your bathroom with an all-purpose cleaner and run the shower until steam builds. Close the door, let the steam and cleaner mix for 20 minutes, and then wipe down all surfaces with a clean microfiber cloth. This is also a good opportunity to scrub any discolored grout with a brush and straight bleach. Finally, don’t forget to clean your bathroom fan vent frequently and run it during every shower to keep moisture and mildew at bay.
3. Wipe Glass & Mirrors
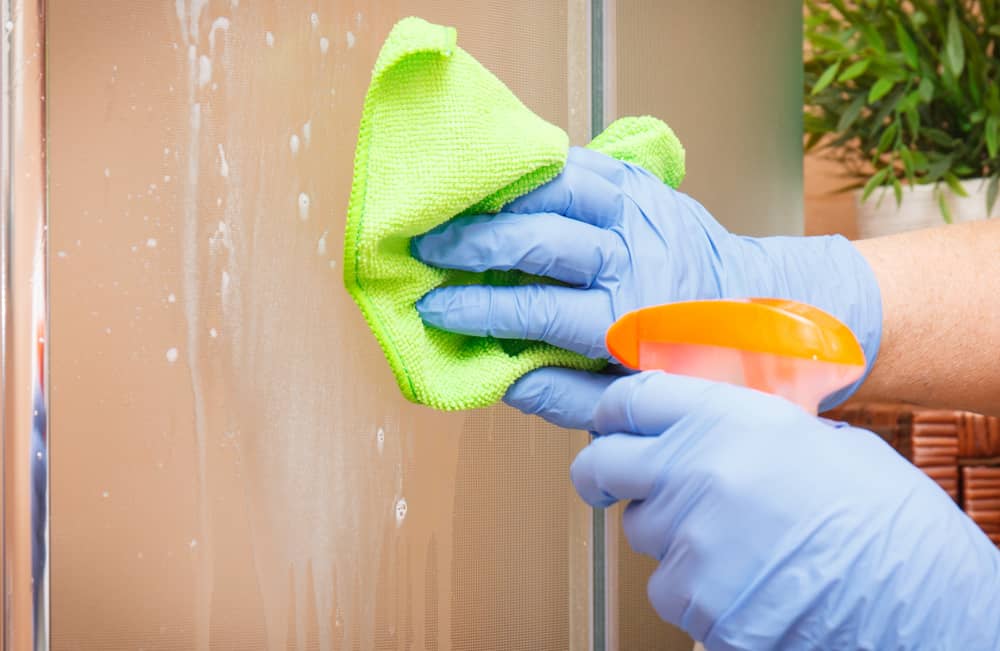
Lightly mist any mirrors with glass or all-purpose cleaner. Then, wipe them down with a microfiber cloth or squeegee to ensure a streak-free finish. You can clean your shower door using a paste of distilled white vinegar and baking soda or a specialty product. Let the cleaner sit for 20 minutes, then rub the glass with a microfiber cloth, rinse it, and buff it dry. If you have a plastic shower curtain and liner, simply run them through the washing machine and rehang to dry.
4. Scrub the Tub and/or Shower
Start by wiping dust from ledges, faucets, handles, and showerheads to avoid pink mold buildup. Be sure to also descale your showerhead by submerging it in vinegar overnight (using a plastic bag and rubber band) and rinsing it in the morning.
Use an all-purpose cleaner or specialty scrub on your shower walls and tub, rinse them off, and then buff or squeegee them dry. If you have a shower seat or bench, simply wash it with warm, soapy water and a clean cloth. There are also specialty cleaning products available if your seat is heavily textured or particularly dirty.
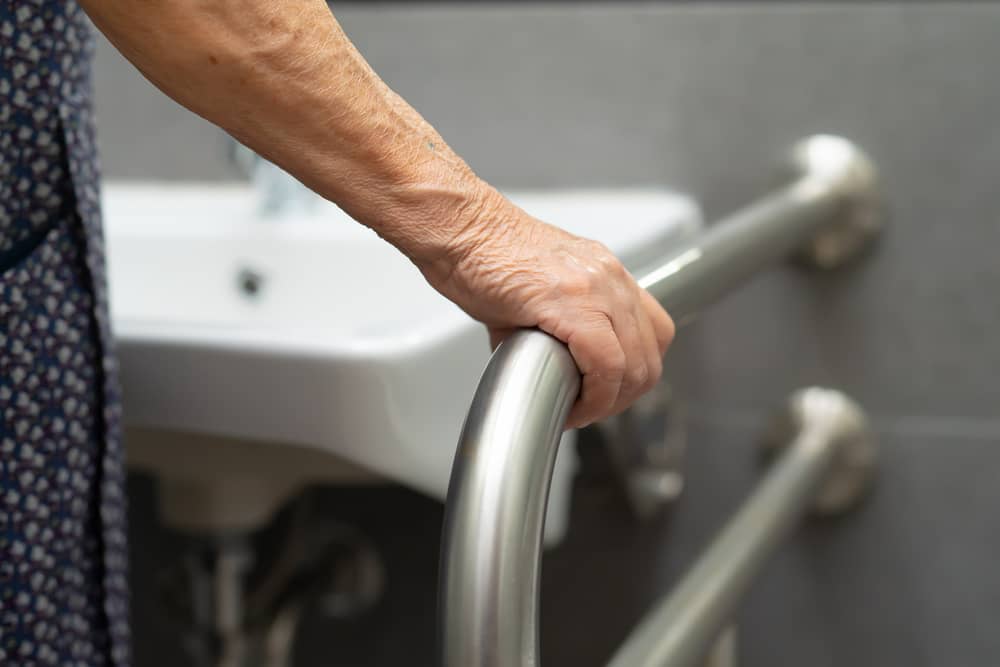
Finally, use a spray disinfectant and paper towels or disinfecting wipes to clean safety rails and grab bars and dry them completely. If you prefer a chemical-free option, opt for distilled white vinegar.

5. Sanitize Sinks & Counters
Depending on the material, start by cleaning your counters with an all-purpose or specialty cleaner. Then, use an all-purpose cleaner or baking soda and a scrub brush to ensure your wheelchair-accessible bathroom sink is sparkling clean. When you’re done, pour white vinegar or a specialty cleaner down the drain to clear your pipes.
Use a small scrub brush to clean any dirt from accessible bathroom fixtures and floss the narrow space where the faucet and taps meet the sink. Then, sanitize your faucet with disinfecting wipes to significantly reduce germs and bacteria.
6. Disinfect the Toilet
Start by giving the outside of your toilet a dry wipe down using a duster or microfiber cloth. Then, spray the outside with a disinfectant and dry it from top to bottom. Open the toilet and spritz the inside of the lid, top and bottom of the seat, and top and sides of the rim before wiping them dry.
At this point, pour toilet cleaner into the bowl (or sprinkle some baking soda) and use a brush to thoroughly clean the inside. If necessary, you can fill the bowl with bleach and scrub it with a long-handled toilet brush, paying special attention to the water line and under the rim. You can also use a damp pumice stone to remove any limescale or mineral deposit stains.
Once you’ve finished scrubbing the bowl, place the toilet brush between the seat and basin (hovering over the bowl) and pour bleach over the bristles before rinsing them with hot water. You should also fill the brush canister with warm, soapy water and let it sit before dumping it into the toilet.
7. Vacuum & Mop the Floors
Vacuuming your bathroom floor ensures a clean, dry surface for the application of wet cleaning products. Be sure to also vacuum your bathmat to remove dust and dirt before running it through the washer and dryer, along with any dirty towels.
Wipe the baseboards with an all-purpose cleaner and use dryer sheets to remove dust and hair. Then, Swiffer or mop the entire bathroom floor, paying special attention to the area at the base of your toilet. Always start from the back of the bathroom and move towards the exit to avoid dirtying wet, clean floors.
8. Finishing Touches
Complete the cleaning process by emptying the bathroom trash can and wiping down the lid (if applicable). Put down a clean bathmat, hang fresh towels, and refill soap dispensers and other necessities, like toilet paper. This is also the perfect opportunity to sanitize all high-touch surfaces – like soap dispensers and cabinet handles – with disinfecting wipes.
How Often Should You Clean Your Bathroom?

UDS Can Help You Live A Fuller Life With Our Comprehensive Services:
Planning & Support - Our dedicated planning & support teams help manage the care and services you need.
Personal Care & Independence - We've helped people with disabilities live more independently in their own homes since 1965.
Enrichment & Life Skills - Our variety of programs is dedicated to building skills for living well with a disability.
While the answer to this question varies based on many factors, experts agree that you should clean your handicap-accessible bathroom at least once a week. Consider spending a few minutes spot-checking your bathroom each day and breaking up tasks throughout the week to avoid time-consuming cleaning sessions.